Building Wooden Bath Trays with Minimal Tools
Indulge in the luxury of a relaxing bath enhanced by a handcrafted wooden bath tray. This project, achievable with minimal tools, allows you to create a personalized sanctuary for your bathing rituals. From enjoying a book and a glass of wine to organizing your bath essentials, a wooden bath tray adds a touch of warmth and elegance to your bathroom.
Planning Your Wooden Bath Tray
Before embarking on the construction, careful planning is crucial. Consider these factors:
Size and Shape
The size and shape of the tray should be proportionate to your bathtub. A wider tray is ideal for accommodating multiple items, while a smaller tray is suitable for a single book or a glass of wine. Consider the length of your bathtub and the space available for the tray to rest comfortably on the rim. Experiment with different shapes like rectangular, oval, or even a unique design.
Materials
Choose wood that is water-resistant and durable. Cedar, teak, and redwood are excellent options. The thickness of the wood will determine the tray's sturdiness. A thicker board offers greater stability and can support heavier items. Seek out well-seasoned wood to minimize warping and cracking.
Features
Decide on the features you want to incorporate. Consider adding a lip around the edges to prevent items from sliding off. Include a built-in recess for a glass or a small candle holder. Cutouts for handles will provide a secure grip when carrying the tray. A small shelf underneath the tray can be useful for holding items like a loofah or soap.
Tools
You'll need a few basic tools:
Construction Steps
Follow these steps to create your wooden bath tray:
1. Cut the Wood
Using your measuring tape and pencil, mark the dimensions of the tray on the wood. Ensure all angles are accurate and that the cuts will result in a rectangle or your desired shape. Use a handsaw or circular saw to cut the wood along the marked lines. Make sure your cuts are clean and straight.
2. Create Features
If you're incorporating features like a lip, handle cutouts, or a shelf, measure and mark these on the wood. Carefully use your saw to cut these features. Use a chisel or router for precise details.
3. Sand the Edges
Once the pieces are cut and features are created, sand the edges and surfaces of the wood. Begin with coarse-grit sandpaper to remove rough edges and then progress to finer grits for a smooth finish. Ensure all surfaces are smooth to prevent splinters.
4. Assemble the Tray
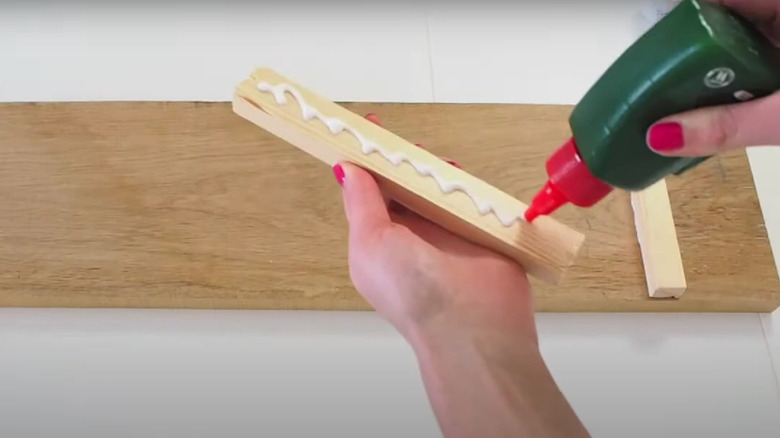
Apply wood glue to the edges of the pieces that will form the tray. Securely clamp the pieces together, ensuring all joints are aligned and flush. Allow the glue to dry completely according to the manufacturer's instructions.
5. Finish the Tray (Optional)
To protect the wood and enhance its appearance, apply a wood finish. This could be a sealant, varnish, or oil. Apply the finish according to the product instructions, allowing each coat to dry completely before applying the next.
Safety Precautions
Always practice safety when using power tools. Wear safety glasses and ear protection, and use a sawhorse or workbench for support when cutting. Keep your hands away from the blade and handle tools with care. Before using wood glue, read and understand the manufacturer's instructions, and ensure proper ventilation.
Customization Tips
Personalize your bath tray by incorporating these ideas:
Maintenance
To maintain your wooden bath tray, avoid exposing it to prolonged periods of water. After each use, wipe down the tray with a damp cloth and allow it to air dry completely. Consider applying a protective sealant or oil periodically to enhance its longevity.
Conclusion
Creating a wooden bath tray is a rewarding project that allows you to personalize your bathing experience. With minimal tools and some creativity, you can craft a beautiful and functional piece that will transform your bathroom into a relaxing sanctuary. Enjoy the process and the luxurious addition to your bath time routine.
0 comments:
Post a Comment
Note: Only a member of this blog may post a comment.