Creating a Personalized Wooden Wall Clock for Gifts: A Step-by-Step Guide
Looking for a unique and thoughtful gift for a special someone? Look no further than a personalized wooden wall clock! This timeless piece of décor adds warmth and character to any space, and with a touch of personalization, it becomes a truly treasured keepsake.
This article will guide you through the process of creating a personalized wooden wall clock, from selecting materials to adding your personal touch. Whether you're a seasoned crafter or just starting out, this guide has everything you need to create a beautiful and meaningful gift.
Choosing Your Materials
The first step is to choose your materials. For a classic look, opt for natural wood like oak, walnut, or maple. These woods offer a rich grain pattern and durability. If you prefer a lighter and more contemporary style, consider birch or pine.
You'll also need a clock mechanism, which consists of the clock hands, movement, and a battery holder. These are readily available at craft stores or online retailers. Choose a mechanism that complements the size and design of your clock.
Tools and Supplies:
- Wooden board (size and thickness will depend on your design)
- Clock mechanism (hands, movement, battery holder)
- Saw (for cutting the wood)
- Sandpaper (for smoothing the surface)
- Wood glue
- Paint or stain (optional)
- Stencil or etching tools (for personalization)
- Ruler and pencil
- Safety goggles and gloves
Designing Your Clock
Now it's time to get creative and design your clock. Consider the recipient's style and preferences when choosing a shape, size, and personalization. You can opt for a simple circular design or explore more intricate shapes like hearts, stars, or even animal silhouettes.
For personalization, consider engraving a special message, date, or name onto the wood. You can also use stencils to create decorative patterns or incorporate the recipient's favorite quote or image.
Design Ideas:
- Engraved Family Name Clock: Engrave the family name and a significant date, creating a timeless heirloom.
- Wedding Anniversary Clock: Incorporate the couple's wedding date and a romantic message for a special wedding anniversary gift.
- Personalized Quote Clock: Choose a motivational or inspirational quote that resonates with the recipient and personalize the clock with their name.
Building the Clock
Once you've finalized your design, it's time to build the clock. Start by cutting the wood to the desired shape and size. Use a saw to create clean and accurate cuts. Sand the edges to ensure a smooth finish and prevent splinters.
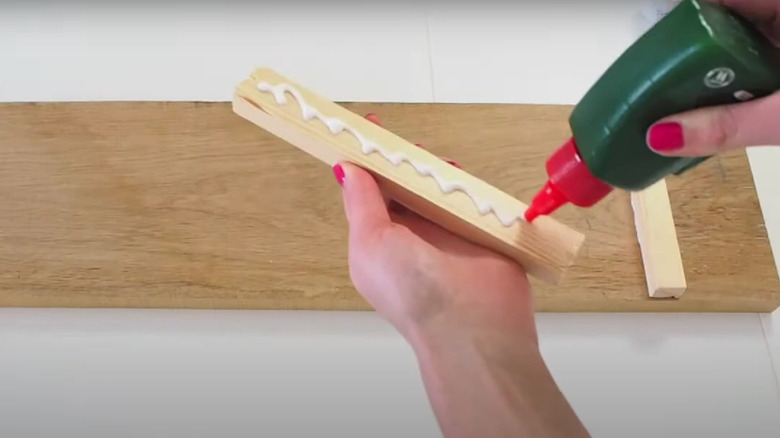
Next, determine the placement of the clock mechanism. Mark the center point on the back of the clock face and drill a hole to accommodate the mechanism. Secure the mechanism to the back of the board using wood glue. Let the glue dry completely before proceeding.
Personalizing Your Clock
Now comes the fun part: adding your personal touch! You can paint or stain the clock to achieve your desired aesthetic. Let the paint or stain dry completely before adding the finishing touches.
For personalization, use stencils, etching tools, or a wood-burning tool to create your chosen design. If using a wood-burning tool, practice on a scrap piece of wood first to ensure you're comfortable with the technique and heat settings.
Finishing Touches
After personalizing your clock, give it a final sanding to smooth out any imperfections. Then, apply a clear sealant to protect the wood and your design. This will help preserve the clock's beauty for years to come.
Finally, attach the clock hands to the mechanism and insert the battery. Set the time and enjoy your personalized wooden wall clock!
Tips for Success
- Plan Ahead: Carefully plan your design and measure twice before cutting to avoid mistakes.
- Use the Right Tools: Invest in quality tools to ensure smooth and accurate cuts and a professional finish.
- Practice First: If you're using a new technique or tool, practice on a scrap piece of wood before working on your clock.
- Take Your Time: Creating a personalized wooden clock requires patience. Don't rush the process; enjoy each step and take pride in your creation.
With a little creativity and effort, you can craft a personalized wooden wall clock that will be cherished for years to come. Happy crafting!


